Manual Deployment
Manual Deployment
At first, deployment is done manually.
These instructions show how to deploy the backend and frontend without an automated pipeline. Later in the course, we will revisit this process and automate it with a stronger focus on security, repeatability, and CI/CD.
The manual deployment flow is useful because it helps you understand what a deployment pipeline eventually needs to do for you.
1. Prerequisites
Before you start, make sure the infrastructure has already been deployed with Terraform.
Go to the Terraform folder:
cd infrastructure/day-1Run:
terraform outputWrite down the following values:
backend_app_name=
backend_app_url=
frontend_storage_account_name=
frontend_static_website_url=
resource_group_name=
You will need these values in the next steps.
For the examples below, replace:
<RESOURCE_GROUP_NAME>
<BACKEND_APP_NAME>
<FRONTEND_STORAGE_ACCOUNT_NAME>
with the values from your own Terraform output.
Obtain the source code for the demo app using git:
Day 1 Demo App
2. Deploy the backend
Navigate to the backend folder:
cd ../../course-cloud-security-app/apps/backendInstall dependencies if needed:
npm installBuild the backend:
npm run buildThe backend should now have a dist folder.
ls | grep distInfo
You might notice that we eventually don't use the dist folder, yet it's good to ensure that the build works locally before continuing with the deployment. During CI/CD we will build the artifact in the pipeline but for now we let the Web App handle the build for us.
This is handled by the app_settings of our web app:
# main.tf
SCM_DO_BUILD_DURING_DEPLOYMENT = "true"
3. Create the backend deployment zip
Warning
On Windows, avoid using PowerShell Compress-Archive for this deployment zip. It can create zip files with path separator issues that may cause problems during Azure App Service deployment.
Use the zip command from Git Bash, GoW, WSL, or another Linux-compatible shell instead.
Ideally we would use a Linux docker container to build the artifact but as we will move to CI/CD later we just stick with what we have.
Navigate to the backend folder again if needed:
cd course-cloud-security-app/apps/backendFor now, we let Azure App Service build or finalize the app during deployment. Later in the course, we will build proper deployment artifacts in CI/CD.
Create the zip file:
zip -r backend.zip `
  src package.json package-lock.json tsconfig.json
PowerShell line endings
The examples in this course often use PowerShell backticks for line continuation. In Bash or Git Bash, use a backslash instead.
4. Upload the backend to Azure App Service
Deploy the zip file to the backend App Service:
az webapp deploy `
  --resource-group "<RESOURCE_GROUP_NAME>" `
  --name "<BACKEND_APP_NAME>" `
  --src-path backend.zip `
  --type zip
Azure CLI reference:
https://learn.microsoft.com/en-us/cli/azure/webapp?view=azure-cli-latest#az-webapp-deploy
This will take some time, if you want to see if the build is working properly you can navigate to the web app:
Azure Portal
-> Resource Manager
-> app-cloudsec-<prefix>-dev-api
-> Logs
-> View log stream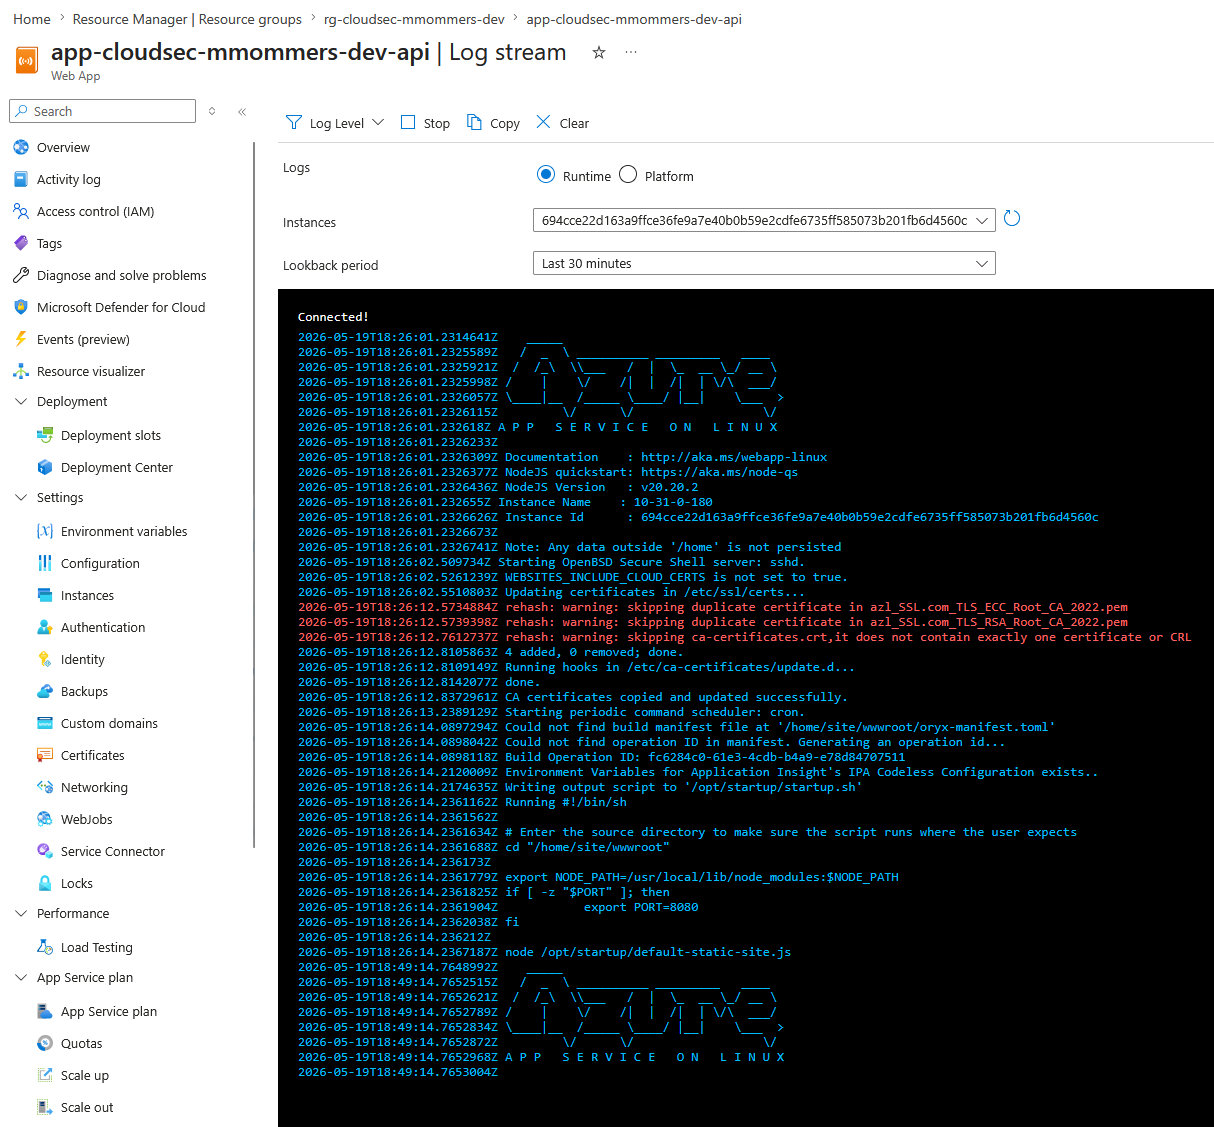
5. Configure the backend startup command
If Azure complains about the startup file, or if the app does not start correctly, configure the startup command manually:
az webapp config set `
  --resource-group "<RESOURCE_GROUP_NAME>" `
  --name "<BACKEND_APP_NAME>" `
  --startup-file "node dist/index.js"
This tells Azure App Service how to start the Node.js backend.
6. Test the backend
Test the health endpoint:
curl https://<BACKEND_APP_NAME>.azurewebsites.net/api/healthExpected result:
The backend should return a successful health response.If this fails, check:
az webapp log tail `
  --resource-group "<RESOURCE_GROUP_NAME>" `
  --name "<BACKEND_APP_NAME>"
Or see the logs in the Portal.
Common issues are:
Wrong startup command
Missing package.json
Missing build output
Incorrect zip structure
App Service still restarting
Environment variables missing
Deploy the frontend
The frontend is hosted as a static website in an Azure Storage Account.
Before building the frontend, you need to configure it with the correct backend API URL.
7. Build the frontend
Navigate to the frontend folder:
cd ../frontendInstall the dependencies:
npm installSet the backend API URL.
In PowerShell:
$env:VITE_API_BASE_URL="https://<BACKEND_APP_NAME>.azurewebsites.net"
npm run build
In Bash or Git Bash:
export VITE_API_BASE_URL="https://<BACKEND_APP_NAME>.azurewebsites.net"
npm run build
This creates a production build in the dist folder.
Tips
The VITE_API_BASE_URL value is embedded into the frontend during build time. If you change the backend URL later, you need to rebuild and redeploy the frontend.
8. Upload the frontend to Azure Storage
Deploy the frontend files to the static website container of the Storage Account:
az storage blob upload-batch `
  --account-name "<FRONTEND_STORAGE_ACCOUNT_NAME>" `
  --destination '$web' `
  --source dist `
  --overwrite
The special destination container $web is used by Azure Storage static website hosting.
9. Test the frontend
Open the frontend URL from your Terraform output:
https://<FRONTEND_STATIC_WEBSITE_URL>Or check the value again:
terraform output frontend_static_website_url
Verify that:
Deployment Checklist
10. Troubleshooting
Backend deployment succeeds, but the app does not start
Check the startup command:
az webapp config show `
  --resource-group "<RESOURCE_GROUP_NAME>" `
  --name "<BACKEND_APP_NAME>" `
  --query linuxFxVersion
Set the startup command again if needed:
az webapp config set `
  --resource-group "<RESOURCE_GROUP_NAME>" `
  --name "<BACKEND_APP_NAME>" `
  --startup-file "node dist/index.js"
Then inspect the logs:
az webapp log tail `
  --resource-group "<RESOURCE_GROUP_NAME>" `
  --name "<BACKEND_APP_NAME>"
Backend zip deployment fails
Make sure you created the zip from the backend folder and that it contains the expected files:
src/
package.json
package-lock.json
tsconfig.json
Avoid zipping the parent folder itself. The files should be at the root of the zip.
Frontend cannot reach the backend
Check that the frontend was built with the correct API URL:
VITE_API_BASE_URL=https://<BACKEND_APP_NAME>.azurewebsites.netIf the value was wrong, rebuild and redeploy the frontend.
Browser shows a CORS error
The backend must allow requests from the frontend static website URL.
Check the frontend URL:
terraform output frontend_static_website_urlThen make sure the backend has the correct CORS configuration or environment variable, depending on how the backend is implemented.
11. Manual deployment checklist
Before continuing, verify the following:
Manual Deployment of APP Checklist
12. Why we start manually
Manual deployment is not the final goal.
We start manually so you can see which steps are involved:
Install tooling
Install dependencies
Build backend
Package backend
Deploy backend
Configure startup
Build frontend with backend URL
Upload frontend files
Test the complete application
Later, these steps will be moved into a more secure and repeatable deployment process using automation and CI/CD.